I've been away for a very long time and so much has happened. My grandmother passed away yesterday and I felt the need to revive my blog and talk about this wonderful woman. She was a pillar for my inner core, she helped me find my identity, she was my compass.
Hao Ly 李長好, lived to be almost 90 years old, raised 6 children and helped take care of 7 grandchildren. In her last year of life she also got to meet 2 great-grandchildren. She saw her family torn apart by The Vietnam/American war and wasn't reunited with them until a decade later. Her husband died at an early age, leaving her with 6 young children to take care of. She lived through life's most bitter moments and persevered with her sense of joy, laughter and generosity intact. She was a tough woman who stood up for herself and seldom backed down, but she fought with charisma and positivity. She was easy to love and everyone loved her.
If I had to pinpoint grandma's strongest trait it would be:
善解人意 . It means being empathetic and considerate to others. She had an innate ability to connect with and understand people. She always contributed and gave back, sometimes giving more than she had. We were always taught to be kind and fair, to foster "community" where ever we go and help those in need.
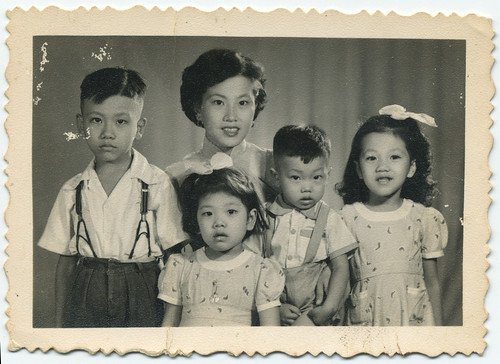
This is a picture of my grandmother and her 4 kids, #5 and #6 haven't arrived yet. My father is one one looking miserable in the Urkle Pants! She really gave herself to her family, she loved them immensely and they were her world. This didn't just pertain to her children and grandchildren, but cousins, nieces/nephews, great-nieces/nephews... daughters and sons-in-laws, practically everybody she became close with she regarded as family. Her family is her legacy, I hope we make her proud and ensure that she lives on in us.
I will always be thankful for our time together and treasure every memory I have of my Ah-ma. As a child I would fall asleep to her bedtime stories or listening to her records on a phonograph. Yes it was old-school! I remember her winding that contraption up and hearing the scratch as the needle was placed onto the record. I also remember the wobbly sound it made as it slowed down, demanding to be re-cranked.
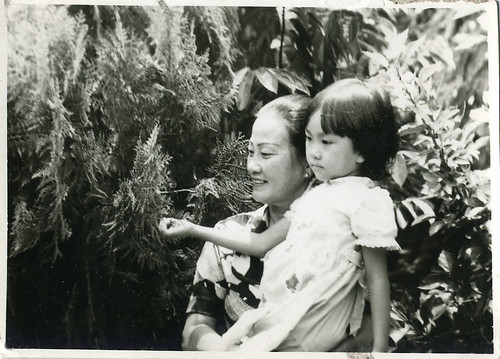
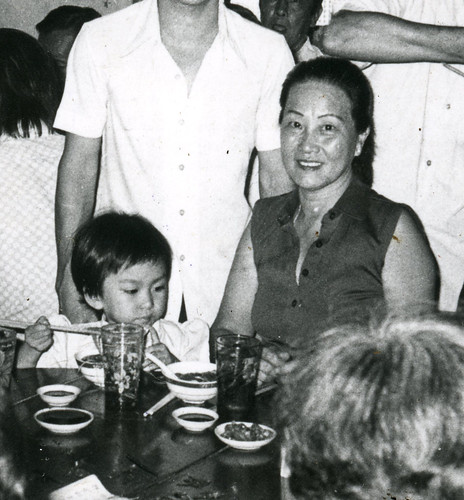
She took me EVERYWHERE carrying me in her arms. We went to the temples to burn incense and make offerings, went to the markets for groceries, I watched her do Tai Chi in the park, we visited with her many friends and we even went to Chinese Opera performances at night. Although, once she took me to a see an adult themed movie by accident! There was no rating system in Vietnam back then, early 80's, I guess you just buy the ticket based on the poster and description? I remember seeing boobies and grandma looking shocked while whisking me away in a HURRY. I was about 4 or 5 and I remember her being really embarrassed and upset. I spent a lot of time with her growing up. We didn't have money for camps or other activities, so I literally spent all of my adolescent weekends with my grandma watching TVB (Hong Kong TV) drama series. We would rent VHS tapes from video shops in Chinatown, or my uncle gave us copied VHS tapes to watch. LOL yeah... old-school once again. These were the sappiest and most cliche programs imaginable, but I loved them! The best part was watching my grandma talk back to the TV and give me a play-by-play from each character's perspective. Thinking back it was a surreal time, we were in a bubble... the two of us.
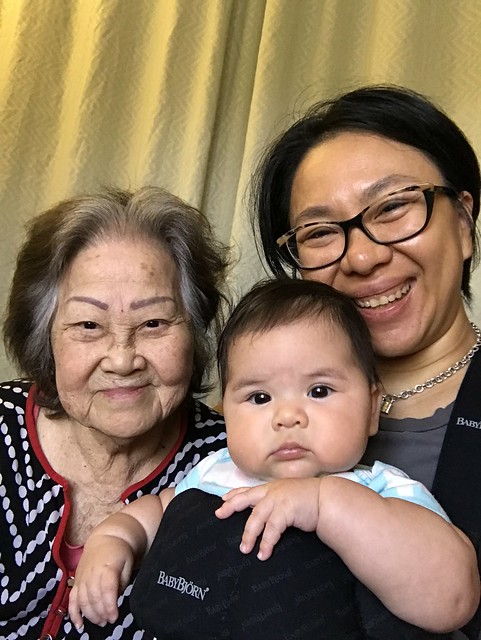
I'm so happy she was able to meet my daughter and be there for her first year of life. Ah-ma got to witness her great-granddaughter learn to talk and walk, give high-fives and play peek-a-boo. We were able to visit her a few days before she passed, the halls of her care facility was filled with smiles and laughter from elder and kinder alike. This will be my last memory of her; smiling and laughing while her great-granddaughter run back and forth.
She stayed at the Kin-On Care Center for the last 2 years. It is an amazing organization that serves an underrepresented and underserved community. They specifically care for Asian elders who do not speak English. Their main focus is to provide a familiar culture for their residents and patients along with the treatment and care that they need. The staff is fluent in Mandarin, Cantonese, Hakka among other Asian languages, although they seem to be strongest with Chinese dialects. End of life care is daunting enough, imagine having to leave your loved ones in a care facility that doesn't speak their language. Not only do they serve based on cultural needs, Kin-On focuses on care for low income seniors who would not be able to afford hospice or nursing home care. I can't say enough good things about this organization, if you wish help please consider a donation to KIN-ON.
Goodbye grandma, you were cooler than any of us can hope to be. We love you and miss you.
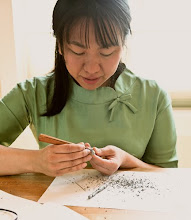
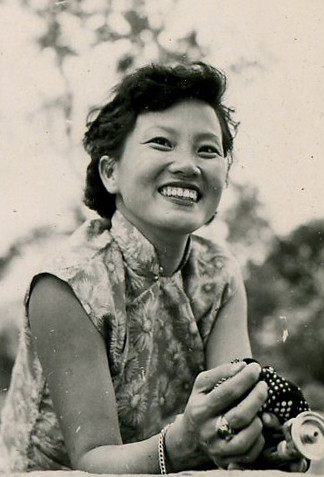
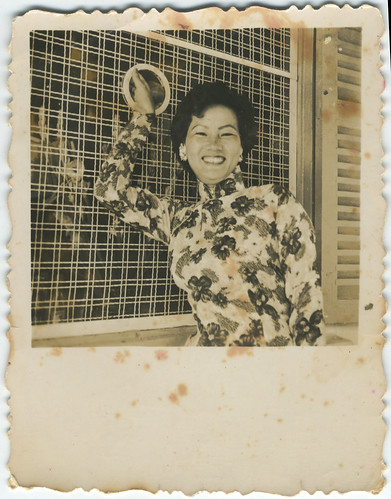
A few more photos HERE